The story of the initial setup of this web site
Who I ended up with the Quarto framework for this web site.
I was looking for a framework allowing me to create and update this web site. My criteria were simple:
- the web site had to look like a standard collection of academic web pages (light and with a large fraction of the width of the page with content)
- I wanted to be able to have standard section: centers of interest, publications, projects, but also news
- I do not wanted to learn a new programming language (I knew that I may not update the site often, so the only way to make its maintenance painless is to reuse skills that I use often)
- produce static pages (this is easier, modern and safer)
- easy to include maths and output of python.
Installing Python on my Macbook Air
This was the first step, I followed this stack to instll and this stack to solve a problem, and hence used pyenv to control the version at the level of the ‘project’ (that means directory for pyenv), pyenv versions tells me what is intalled.
Then I needed to package the environment I will use for to generate web pages from python code. Virtualenv is, according to me, the simplest way to do it:
cd www_lehalle
python -m venv venv_quarto
. venv_quarto/bin/activate
quarto preview cal_website/
And for a simple demo file, I needed numpy and matplotlib, thus I created a requirement.txt file and started to populate it with my favorite python packages. Quarto uses jupyter, that I had to install in the venv too.
Trying Quarto
After reviewing (and partially tesing) a lot of possible solutions, I started to make more efforts with Quarto (even if it is apparently not an open source solution…), around Silvia Canelon’s web page.
It worked quite well, I just had some problems with icons: after trying different regular options (like installing fotawesome or adding iconify), I found iconify that provides svg versions of standard icons and I copy-pasted them in my code…

Aggregating different features in Quarto
Initially I wanted to fork Silvia’s web site, but it happened to be complicated, thus I ended up by copying and pasting block by block what I liked in her setup to build this one.
As of today:
- added more content on the front page
- changed the subdirectories
- understood how to write blog posts
- TODO: I would like to understand how to get the right-hand side table of content she has…
Notes about blogging
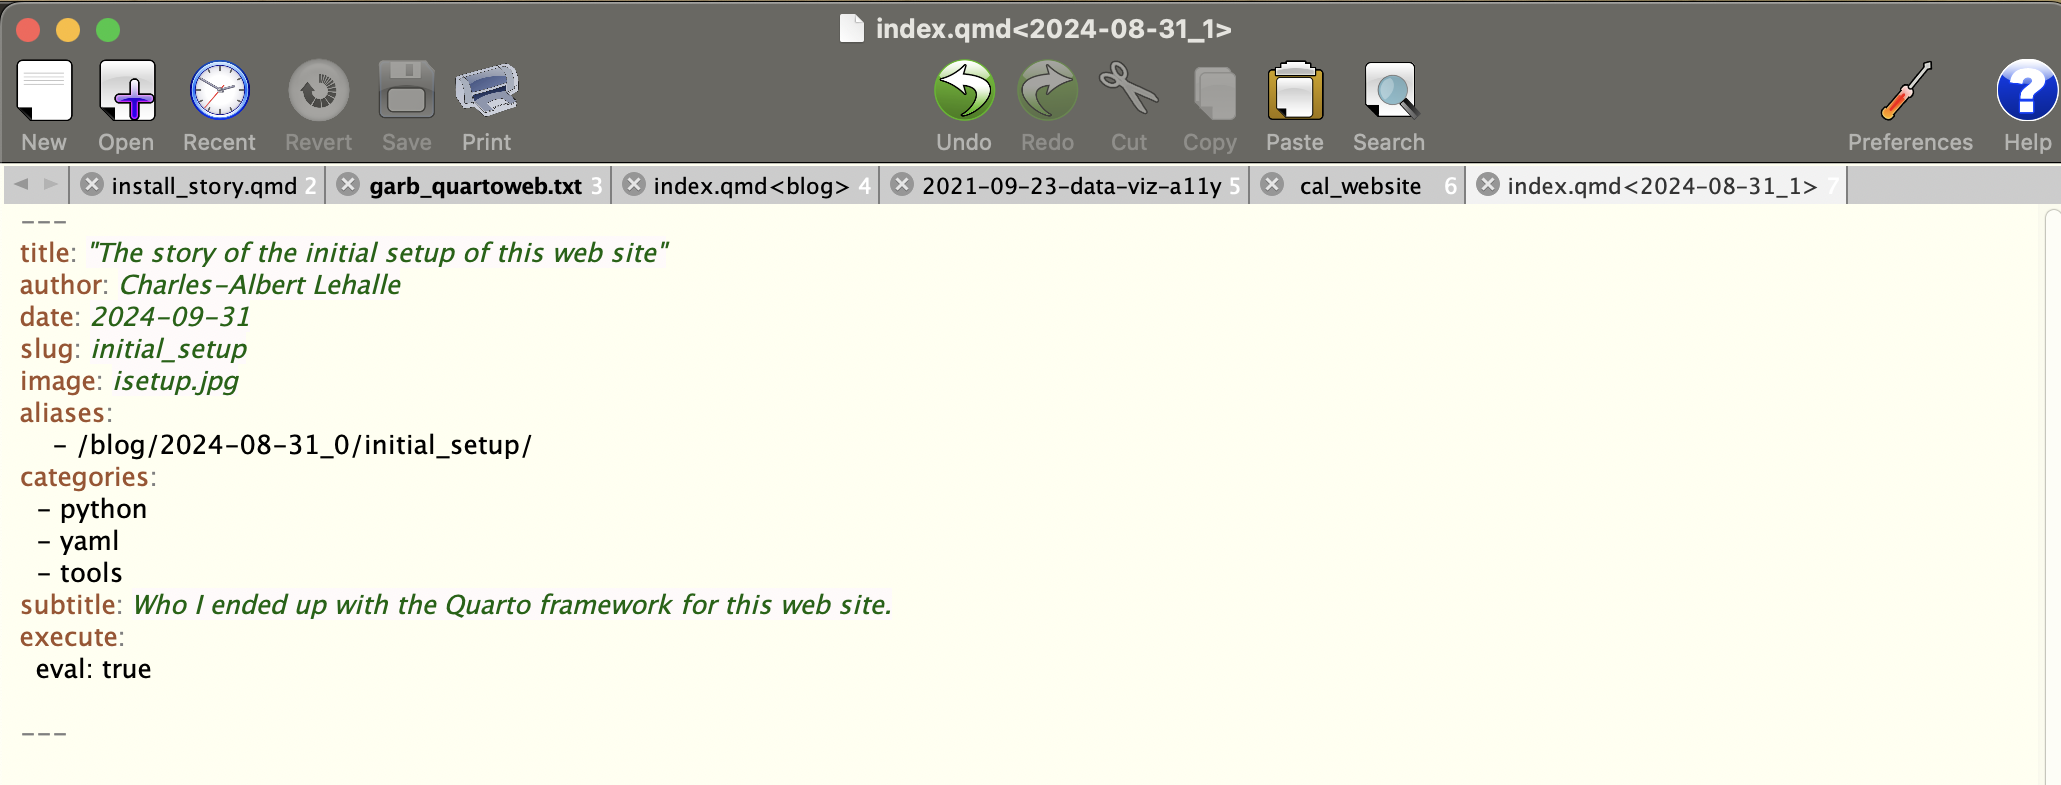
Blog posts are written manually: each post has its own directory, that should be good to include python code or notebooks, and the main page is named index.qmd. The main picture (appearing on the list of posts) is controlled in width only, so the user has to keep it not too high.